TM 10-3510-209-24
3-10. WASHER ASSEMBLY (CONT)
DISASSEMBLY (CONT)
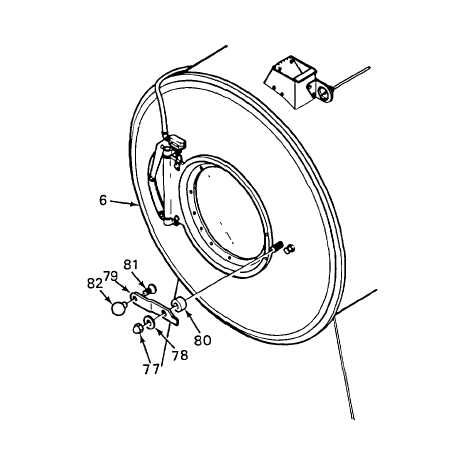
d.
Remove nut (77), spacer (78), handle (79), and spacer (80) from washer assembly (6).
e.
Remove screw (81) and doorknob (82) from handle (79).
REPAIR
Repair of the washer assembly restores the unit to normal operating condition by replacing the defective component and
making needed adjustments. Remove and replace only those items necessary to make repair. After replacing the
defective component, ensure that the washer operates correctly by making a visual inspection or by performing an
operational check.
ASSEMBLY
1.
Assemble door and door safety switch.
a.
Install doorknob (82) and screw (81) on handle (79).
b.
Install spacer (80), handle (79), spacer (78), and nut (77) on washer assembly (6).
3-23