TM 10-3510-226-23
0069 00
REPLACE-CONTINUED
Replace the Burner Electrodes
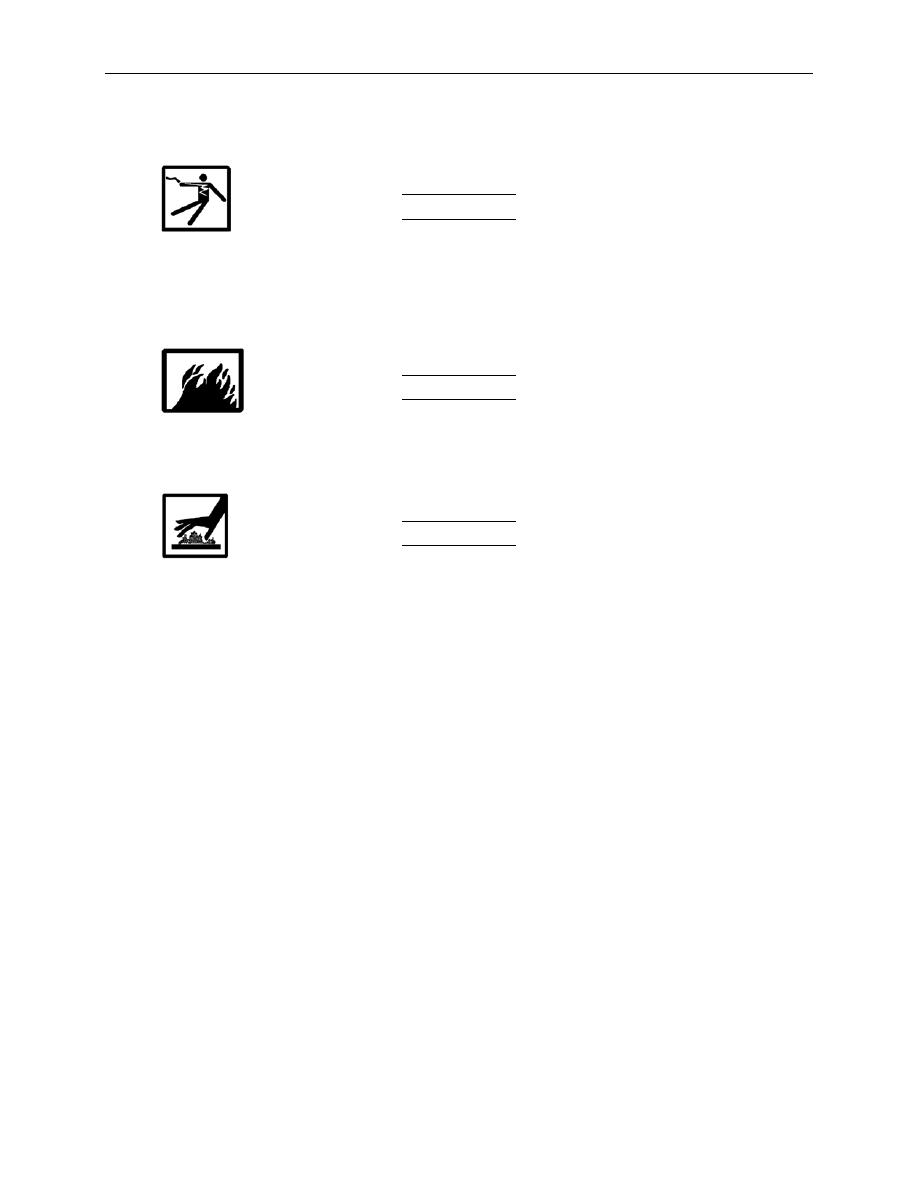
WARNING
Ensure that all electrical power to the boiler is shut off and disconnected before
proceeding. The circuit breaker box or individual circuit breaker should be locked and
tagged out by personnel following this procedure. Remember that the CBL is a wet
environment. Serious injury or death to personnel can result from electrocution if proper
safety precautions are not observed.
WARNING
Ensure fuel is contained and not allowed to spill or spray into the CBL. Failure to observe
safety precautions may result in a fire, with the possibility of serious injury or death to
personnel.
WARNING
Allow the boiler and any associated hot water pipe, tubing or fixtures to cool at least 30
minutes before attempting any repairs. Failure to observe safety precautions may result
in serious injury or death to personnel.
1. Disconnect power by switching circuit breaker No. 22 to OFF.
2. Remove screws retaining transformer (Figure 8, Item 6), and swing transformer up and out of the
way.
3. Loosen compression nut retaining the fuel solenoid (Figure 8, Item 7) to the nozzle assembly (Figure
8, Item 8).
4. Remove the locknut retaining the nozzle assembly (Figure 8, Item 8) and remove the nozzle
assembly.
5. Loosen the screws retaining the electrodes (Figure 8, Item 15) to the nozzle assembly (Figure 8,
Item 8) and remove the electrodes.
6. Install the replacement electrodes (Figure 8, Item 15) onto the nozzle assembly (Figure 8, Item 8)
and retain in place with screws. Do not tighten.
7. Position the electrodes (Figure 8, Item 15) approximately inch apart, just above the nozzle (Figure
8, Item 9).
8. Tighten the screws retaining the electrodes (Figure 8, Item 15).
9. Install the nozzle assembly (Figure 8, Item 8) into the burner, and retain with locknut.
10. Connect the fuel solenoid (Figure 8, Item 7) to the nozzle assembly (Figure 8, Item 8), and tighten
compression nut.
0069 00-14


