
TM 10-4510-208-13&P
0040 00
REPLACE
Replace the Pressure Tank
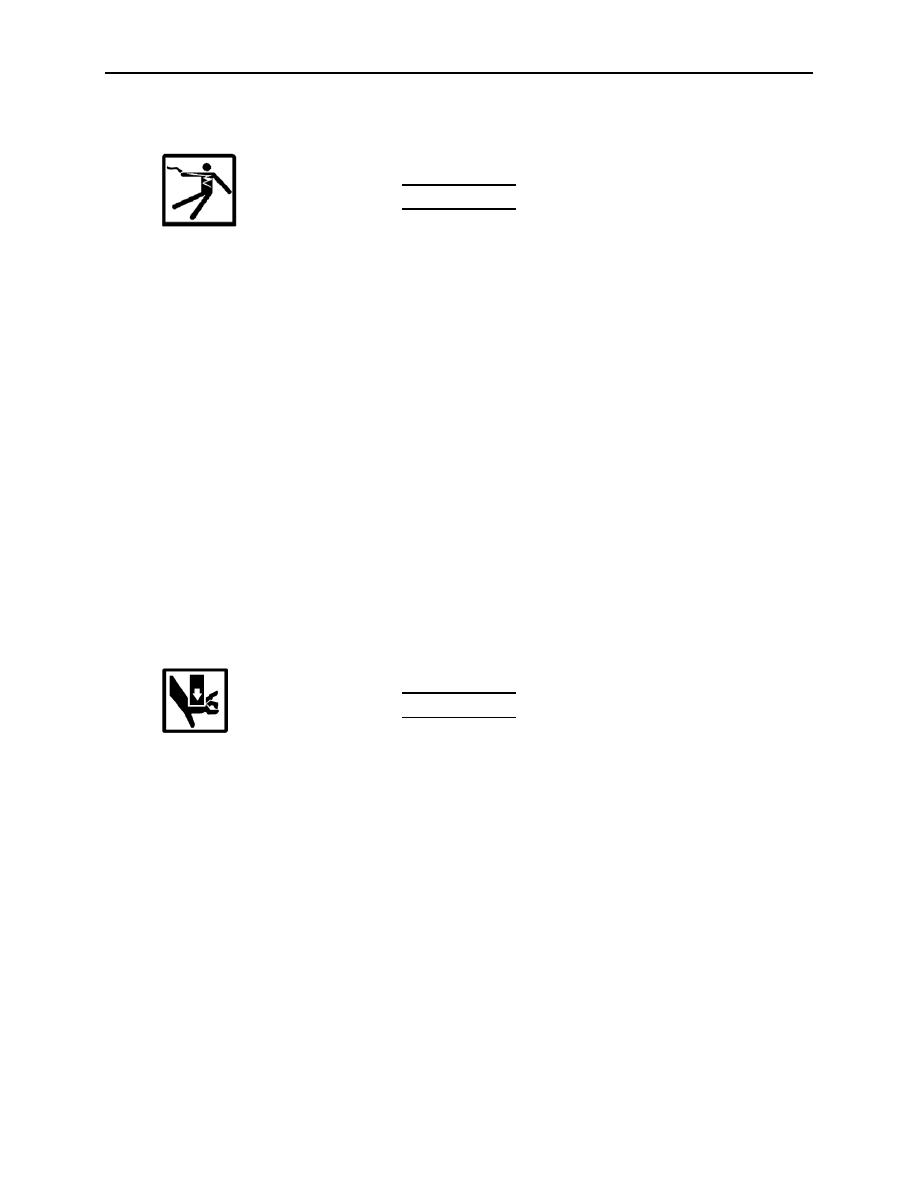
WARNING
Always secure and tag circuit breaker in the OFF position or disconnect equipment's
power cord from receptacle before attempting any electrical repairs, even minor repairs.
Remember, the shower is a wet environment capable of posing an electrical shock
hazard when personnel have direct contact with energized wires or metal parts. Failure
to observe this safety warning may result in serious injury or death to personnel.
1. Ensure the pump is drained and all pressure is relieved from the system.
2. Remove the motor starter and overload relay mount retaining bolt (1), and remove the motor starter
and overload relay mount (2).
3. Remove the -inch discharge hose (3).
4. Remove the cover from the pressure switch (4).
5. Disconnect and tag the four wires at the pressure switch terminals.
6. Remove the locknut on the pressure switch conduit (5).
7. Disconnect the pressure switch ground wire.
8. Remove the pressure switch conduit (5).
9. Remove the four pressure tank mounting bolts (6).
WARNING
The pressure tank is heavy, bulky and is a tight fit in the pump frame. Two people are
required to remove the pressure tank from the frame. Failure to observe safety
precautions may result in hand and finger injuries.
10. Remove the pressure tank (7) from the pump frame (8).
11. Secure the pressure tank (7) with an adjustable wrench, and unscrew the cross fitting (9) with
pressure switch (4), pressure gauge (10), and relief valve (11) as an assembly from the pressure tank
(8).
12. Wrap the replacement pressure tank fitting with 3 to 5 turns of anti-seize tape.
13. Install the cross fitting (9) with pressure switch, pressure gauge, and relief valve as an assembly onto
the pipe fitting of the replacement pressure tank.
0040 00-4
