
3. Remove connecting rod caps. Note: Match numbers
for rods and caps and replace each set on its
original journal of the crankshaft. See Picture 8.
4. Push connecting rods up to the crankshaft and
remove the 8 bolts holding pump mounts and
bearing retainers on both ends of the crankshaft.
5. Using a plastic mallet, tap the crankshaft end to
remove it from the open end bearing retainer; leave
the closed end bearing retainer in place on the
crankshaft.
6. Slide the crankshaft out of the crankcase and pull
the connecting rod and pushrod assemblies out of
the crankcase; keep them in position with their
matching caps so they can each be replaced on
their original crankshaft journal.
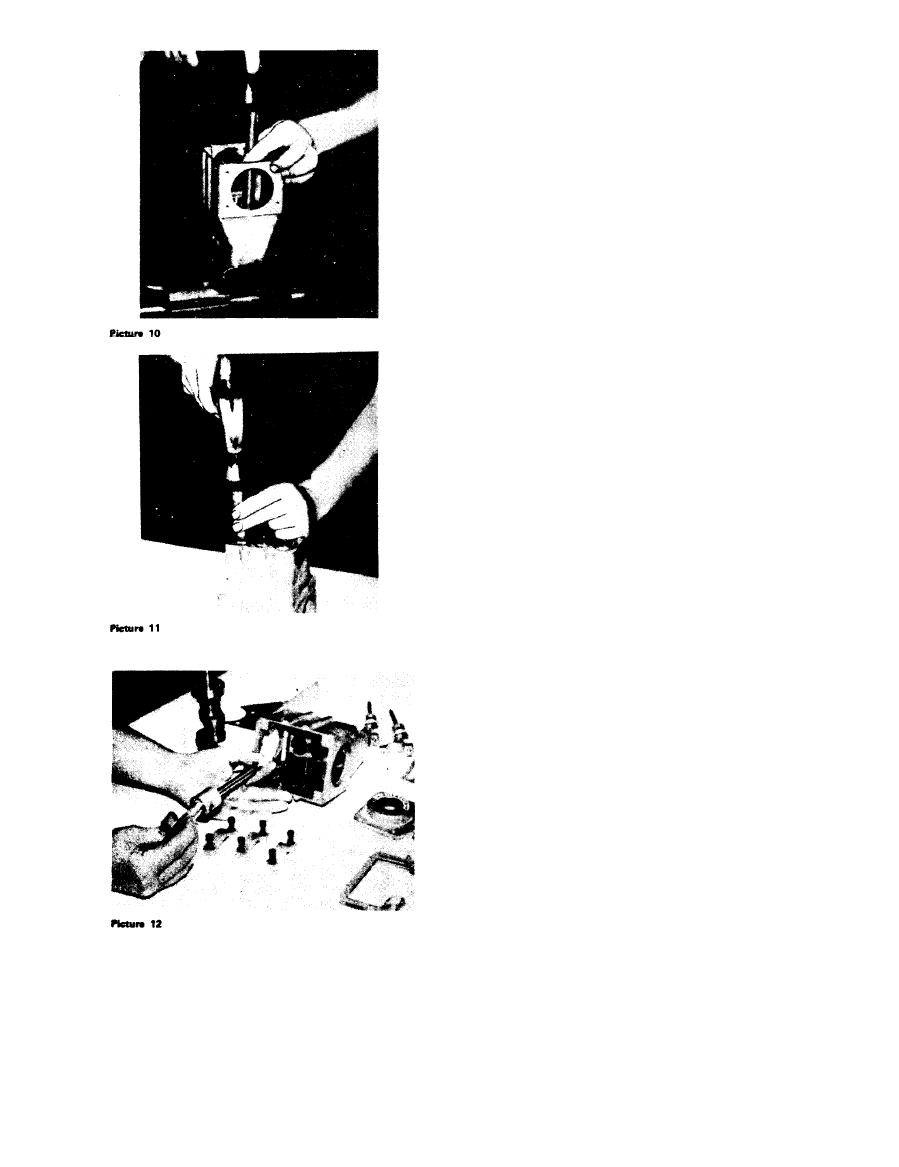
7. Place the crankcase in an open vise with the seal
side down. Use a 3/4" O.D. rod and knock out the
old seals. See Picture 10.
8. Using a seal inserter tool, Part 1190-48-05, held
against the flanged ring of the seal, press or tap
the new seals into the sleeves until firmly seated.
Apply Loctite #601 to the seal O.D. before press-
ing it into the crankcase.
9. Using push rod inserter caps, Part 1190-51-05, on
pushrod ends, slide the connecting rod and push-
rod assemblies through the new seals, maintaining
the original locations. The cast notches on the sides
of the connecting rod bearings must be toward the
bottom of the crankcase; they serve as oil scoops.
See Picture 12.
-29-

