TM 10-7360-226-13&P
0021 00
CONTAINERIZED KITCHEN (WITH TRAILER)
UNIT MAINTENANCE PROCEDURES
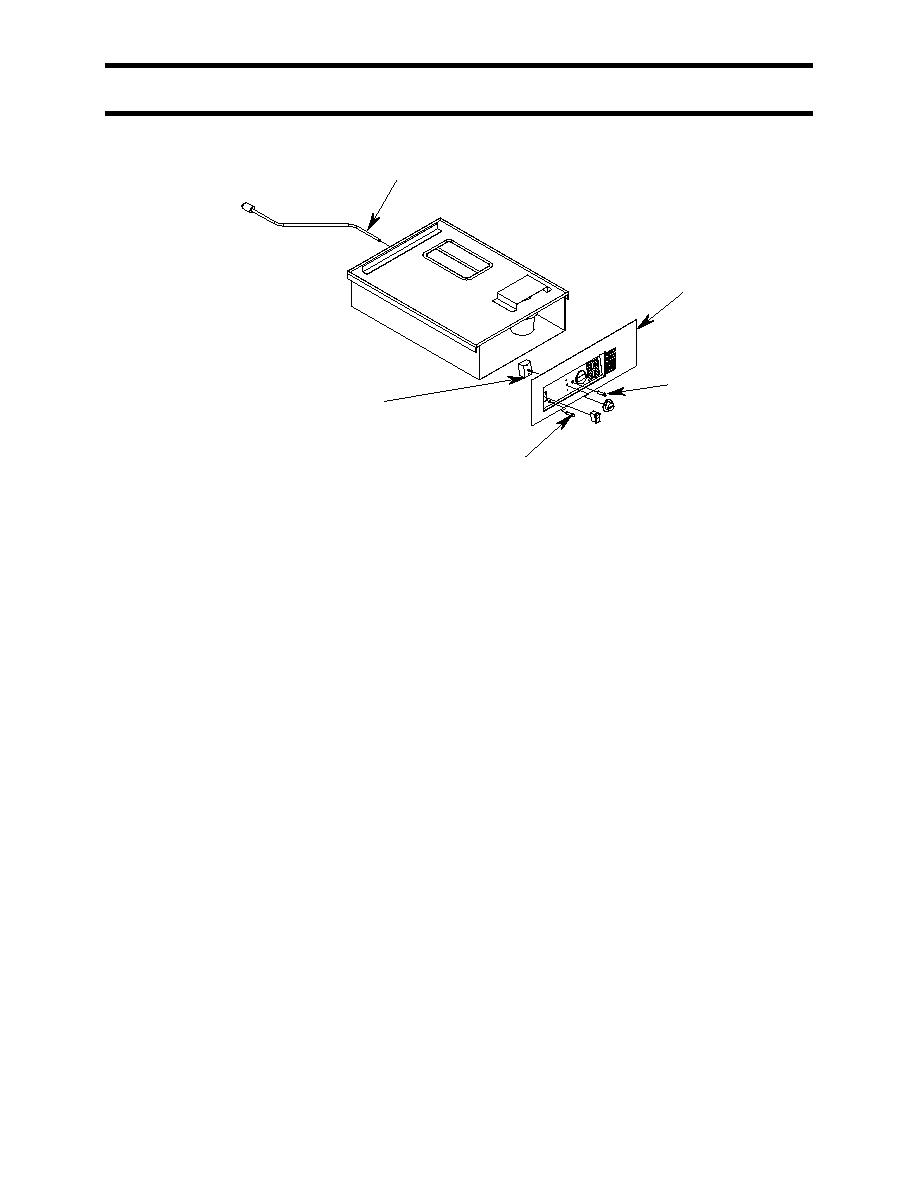
POWER CORD
PANEL (SHOWN REMOVED
FOR CLARITY)
INDICATOR
(YELLOW)
THERMOSTAT
INDICATOR (RED)
Figure 3. Cabinet Module.
Thermostat: Pull the control knob from the thermostat to expose the two mounting screws.
Remove and retain the mounting screws and pull the thermostat from the control panel to gain
access to the ring terminal connections. Replace the thermostat and retained hardware.
Indicator Light (yellow): Using a small screwdriver, pry loose the clip retaining the indicator
light to be replaced. Trace the two wires from the fan to the terminal block, label the wires and
disconnect them. Draw the indicator light and wire through the control panel.
Install the new indicator light. Affix crimp-on spade terminals to each wire lead. Feed the new
light through the hole in the panel and press on the retaining clip. Connect the leads to the
terminal block.
Power Indicator Light (red): Trace the two wires running from the light to the terminal block,
label the wires and disconnect them. Pry loose the clip retaining the light. Depress the tabs on
the light body and draw it through the hole in the control panel. Replace the light. Affix crimp-
on spade terminals to each wire lead. Connect the wires to the terminal block.
Power Switch: Label and disconnect the wires connected to the switch. Depress the tabs on
the switch and push the switch back through the control panel. Snap the new switch into place
and reconnect the wires.
END OF WORK PACKAGE
0021 00-4


