
TM 10-4510-208-13&P
0033 00
SERVICE
Clean the Heater Assembly
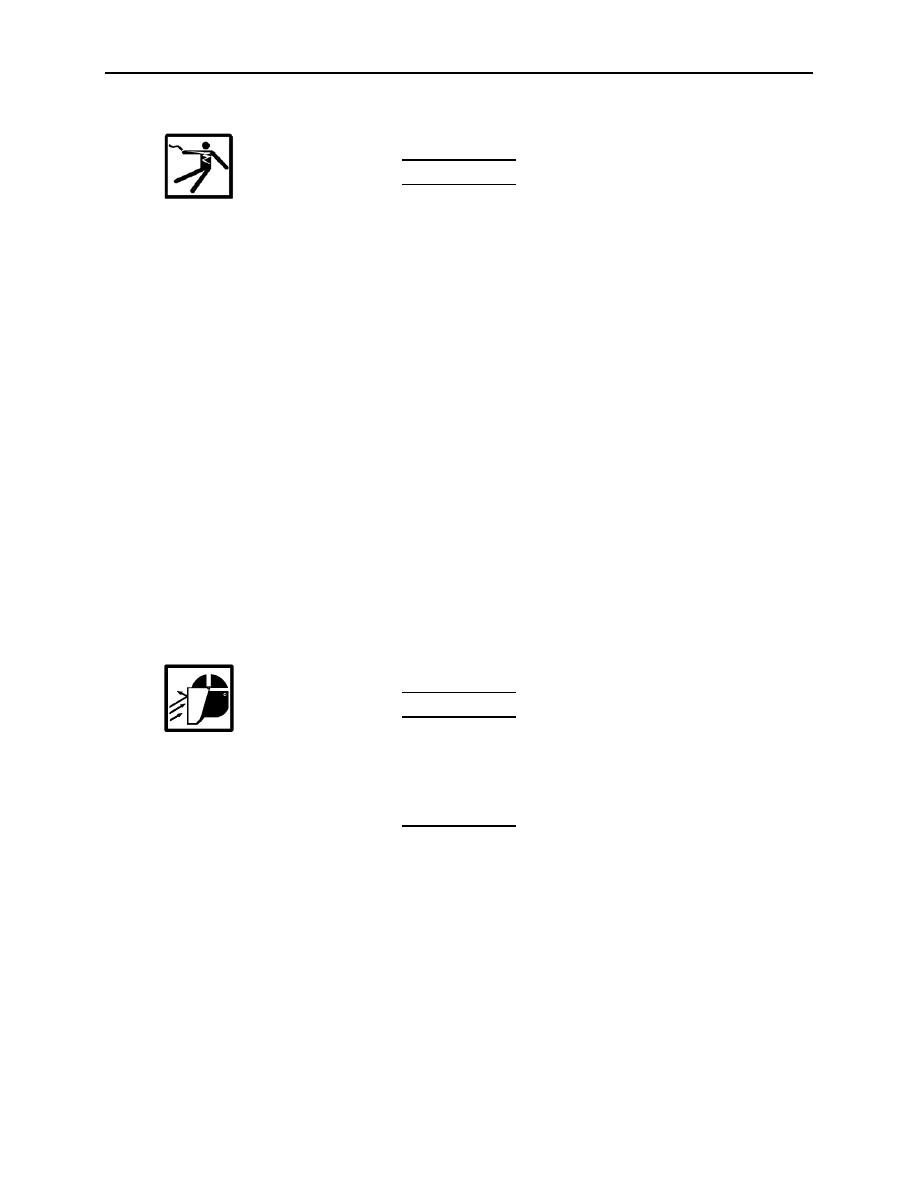
WARNING
Always secure and tag circuit breaker in OFF position or disconnect equipment's power
cord from receptacle before attempting any electrical repairs, even minor repairs. The
shower is a wet environment capable of posing an electrical shock hazard when
personnel have direct contact with energized wires or metal parts. Failure to observe this
safety warning may result in serious injury or death to personnel.
NOTE
The heater assembly may be found installed 1800 from the way depicted in this TM.
Either way is correct.
1. Remove thermostat knob (1).
2. Remove four screws (2) from heater from front cover.
3. Remove front cover (3).
4. Remove two screws (4) from heater assembly (5).
NOTE
The heater assembly will have to clear the screw retaining tabs in the back box to be
removed. This may be done by first prying the top, and then the bottom of the back box.
5. Remove heater assembly (5) from back box (6).
WARNING
Eye protection must be worn when using compressed air. Failure to observe this safety
warning may result in serious eye injury to personnel.
CAUTION
Use compressed air, if available, to clean heater assembly components. Do not use
solvents or cleaning agents to clean heater components. Some solvents may cause
corrosion to components, and all solvents will remove lubrication from the fan motor. Do
not use metal tools to pick heater fins clean, as this may damage the heater element.
6. Clean heater assembly and fan of dust with a dry rag or compressed air, if available.
7. Install heater assembly (5) in back box (6).
8. Secure heater assembly with two screws (4).
9. Install front cover (3).
0033 00-2
