
TM 10-3510-226-23
0040 00
REPAIR
Repair the Water Reuse Holding Tanks
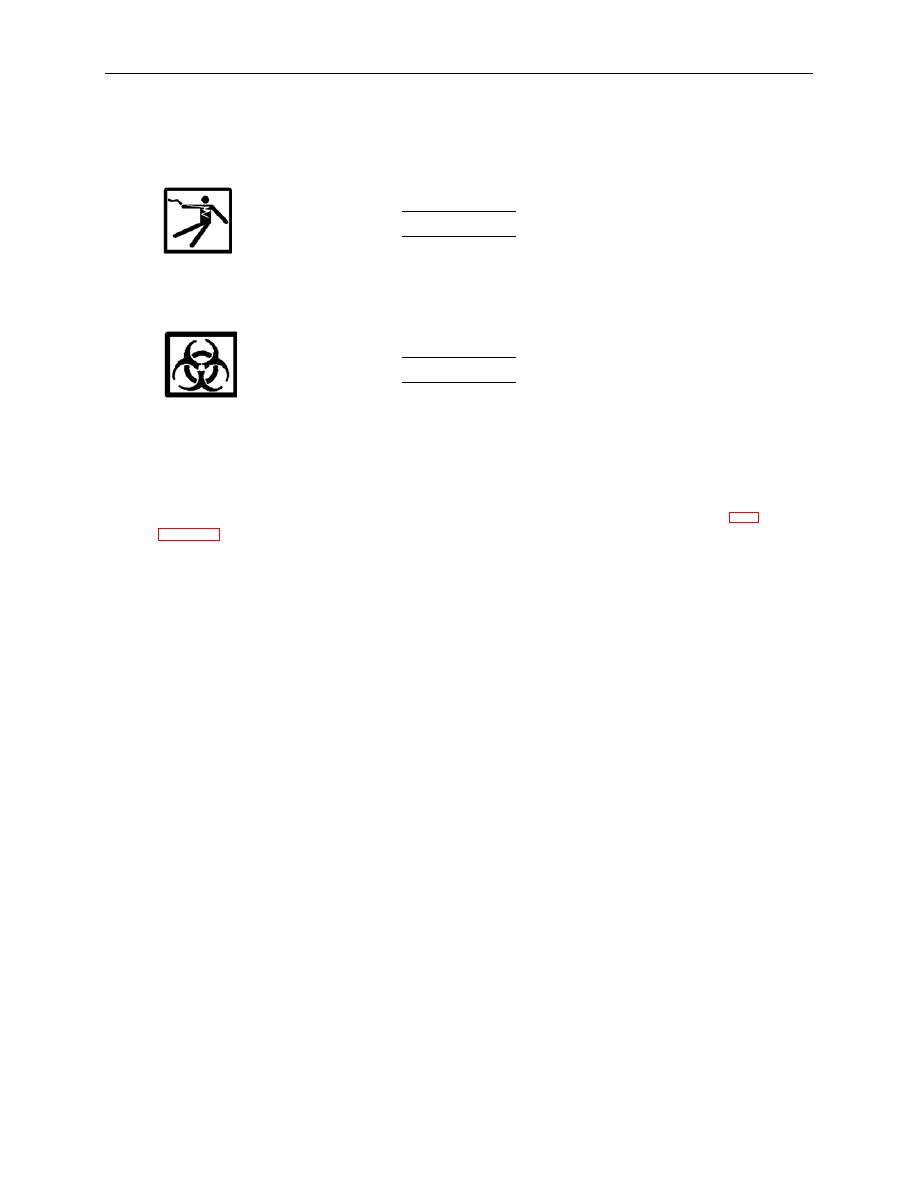
WARNING
Always secure and tag circuit breakers and switches OFF before attempting any
electrical repairs. Remember that the CBL is a wet environment, and capable of posing a
shock hazard even when personnel are not in direct contact with metal parts.
WARNING
Ensure graywater pipes have been sanitized IAW procedures contained in TB MED 577
before attempting any repairs. Failure to observe safety precautions may result in
serious illness or death from biohazards.
NOTE
Prior to tank removal for repairs, remove both washers IAW procedures given in WP
NOTE
To remove the Nano Tank, the WTS hold tank must be removed first.
1. Disconnect power to the CBL by disconnecting all power cables.
2. Drain tank (Figure 2, Item 4) completely.
3. Tag and remove all hose connections, electrical connections, and fittings from the damaged tank
(Figure 2, Item 4). Ensure the sight glass assemblies have been removed as well.
4. Remove the soap dispenser control modules (Figure 2, Item 5) from their mounts and place out of
the way.
5. Remove the sight glass (Figure 2, Item 3).
6. Remove mounting hardware retaining the tank (Figure 2, Item 4) to the tank rack (Figure 2, Item 6).
7. Remove tank (Figure 2, Item 4).
8. Remove screws, washers, and nuts retaining top of tank (Figure 2, Item 4), and remove top.
9. Locate source of leak.
NOTE
If a crack is located, always drill the ends to stop the crack. Failure to do so may result in
continued damage after repairs are complete.
10. If tank is cracked, drill ends of crack (Figure 2, Item 7) and clean crack of any residue.
0040 00-3
